How to Roll Sushi
Learning how to roll sushi is an art. As with any art form, it takes time and lots of practice. Unfortunately, there aren’t a lot of people in the United States that are willing to teach these techniques.
Here, you can learn how to roll sushi from your own home- for free! Each tutorial, from here on out, is going to have written instructions and, over time, a video tutorial. This teaching method will allow people to learn with ease, whether you are a visual, audio, or a kinesthetic learner.

For learning how to roll sushi, you will need the following:
- Bamboo sushi mat or Makisu (make sure it’s wrapped in food service film)
- Sharp knife (I recommend a yanagiba)
- Cutting board
- A bowl of water
- Nori (seaweed)- Whole sheets
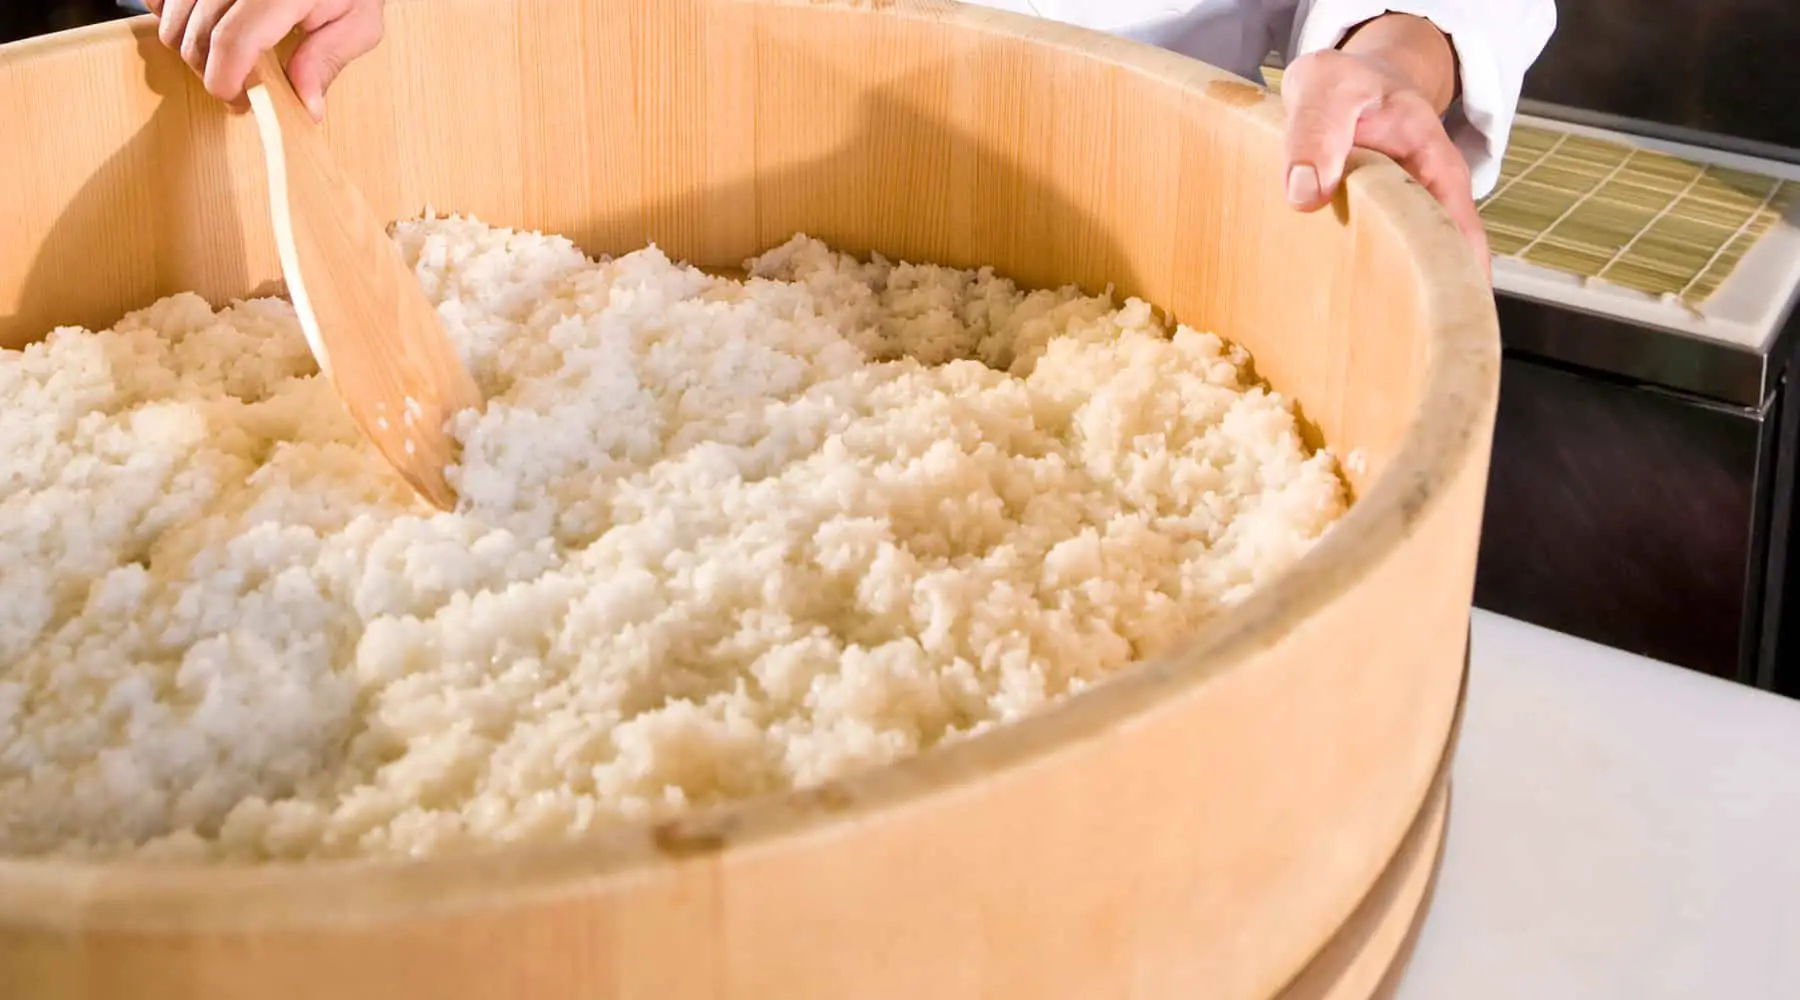
- Sushi Rice
For the first two rolls, you will need to cut your full nori sheets in half. Nori can also be found pre-cut, into half sheets, if you so desire.
I will show an example of each roll below, in one video tutorial, for additional reference and explanation.
Uramaki (inside out roll)
Uramaki is the most common style of roll found in the U.S. and it has become increasingly popular in Japan. As such, it’s the first roll we will cover in the How to Roll Sushi video and written instructions.
- To make Uramaki, simply place your Makisu (bamboo mat) on your cutting board and place one half-sheet of nori on top of it. Be sure to place the smooth side of the nori down.
- Next, you will dip your fingers into the bowl of water and rub your hands together, making them slightly damp. Grab a small handful of sushi rice, about a baseball-sized amount, place it on the nori.
- Using some gentle pressure, spread the rice from edge to edge on the nori. Use both hands and make sure not to smash the rice grains.
- Once the nori is completely covered in rice, flip it over to the bare nori side and you are ready to begin rolling!
- Now you may place the desired ingredients on the centerline of the nori. These ingredients are completely up to you. You can also visit the Sushi Roll Recipes page for a full list of ingredients.
- Once your ingredients have been placed, tuck your thumbs underneath the makisu and place your fingers on the opposite side of the ingredients. Then roll your mat and nori towards your fingers and apply pressure. Be sure that the rice rolls completely over the ingredients and there isn’t anything sticking out.
- Finally, grip the masiku and continue to pull it away from you, finishing the rolling process. Make sure that you tuck in each end of the roll to make sure that no ingredients are sticking out.
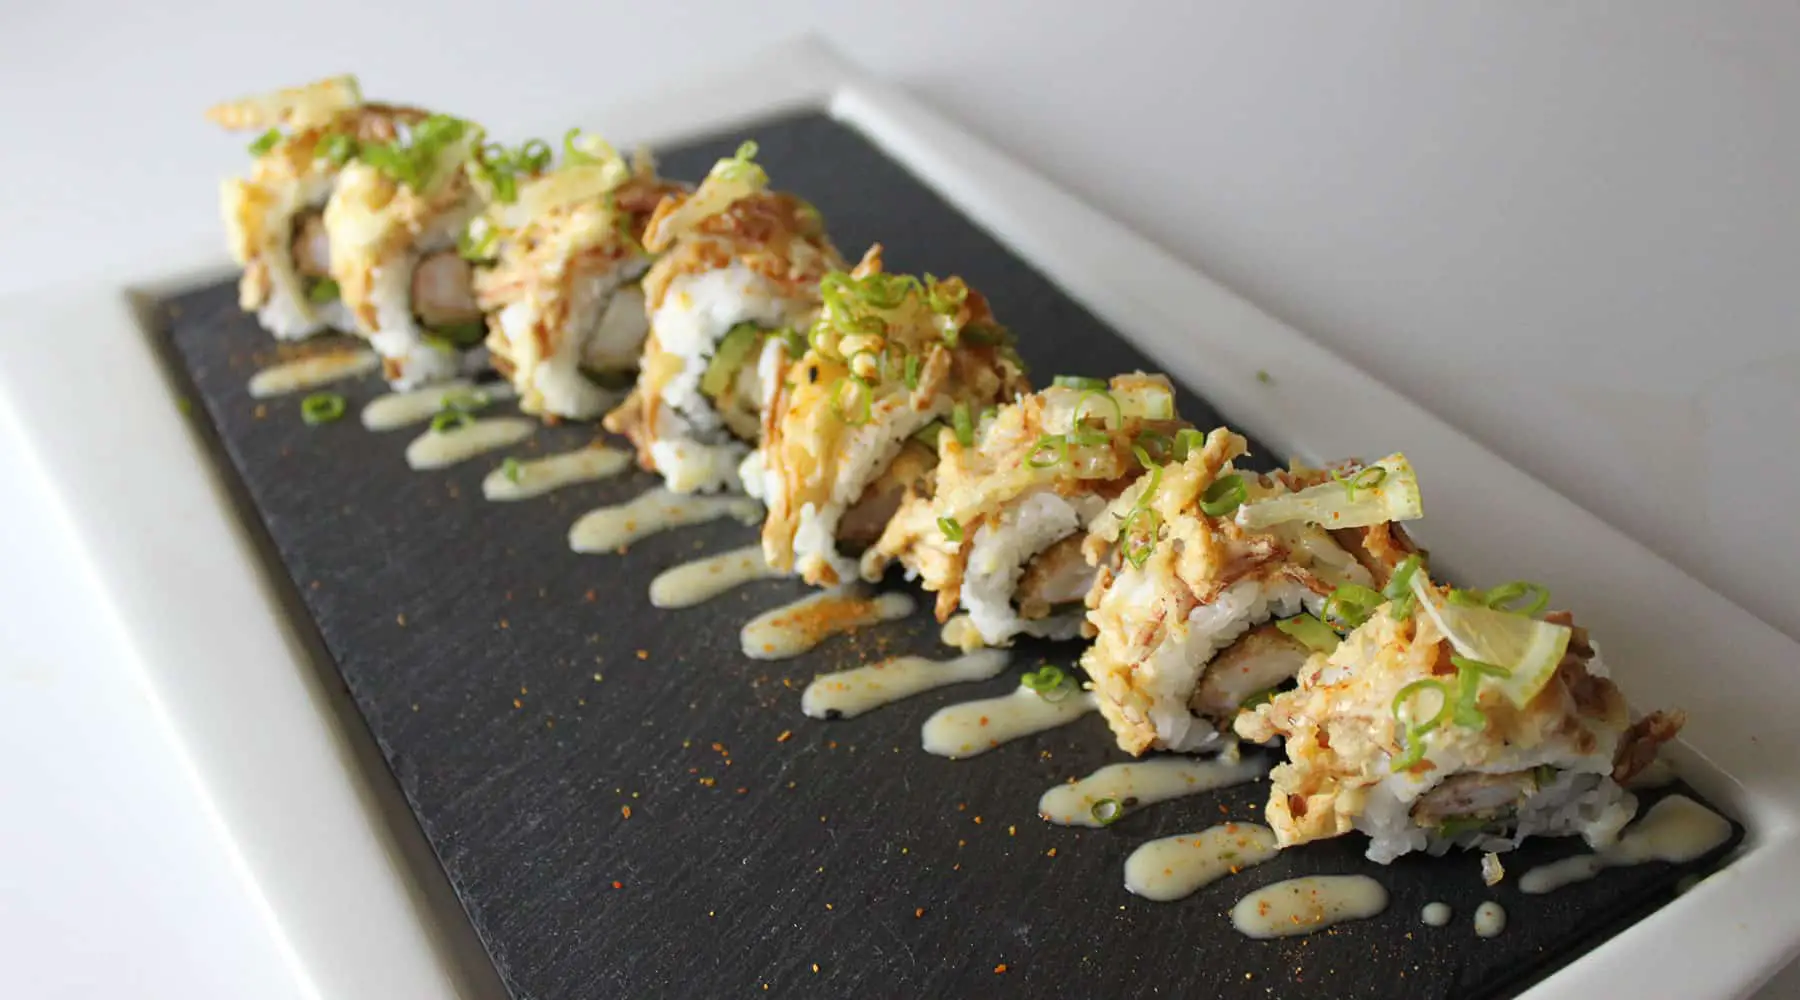
- Now that we have a complete sushi roll, it’s time to cut it up! Most Uramaki is cut into 8 pieces. Take your knife and make a long, gentle cut down the center. Then cut each half of the roll in half one more time. Then again for each quarter.
- Now you can arrange the pieces anyway you like, garnish them appropriately, and enjoy!
If these instructions are confusing, try watching the video on How to Roll Sushi! It helps to be able to physically show what I’m doing.
Hosomaki (skinny roll)
Hosomaki is a great way to learn how to roll sushi using only 1-2 ingredients on the inside. Most of the single-vegetable rolls will be rolled in this fashion and it is a very traditional way of rolling sushi in Japan.
- Just like the Uramaki, place a half sheet of nori onto your makisu. Make sure that the smooth side of the seaweed is down.
- Now, with damp hands, grab a slightly smaller portion of rice and spread it across the nori.
- While you are spreading the rice, make sure to leave a portion of the seaweed bare towards the top. I usually leave about 1cm of space on the nori.
- Now, without flipping the seaweed, we will place the desired ingredient onto the rice (practice using cucumber for the first couple of times).
- Dip your fingers into the water and transfer a small portion onto the bare nori (This is a major difference between the Uramaki and the Hosomaki). Make sure to use just enough water to change the nori from being crisp to being damp.
- Quickly, use the same technique of rolling as the Uramaki. Tuck your thumbs under the makisu, hold the cucumber with your fingers, and roll. This time we want the nori to touch the bare rice and then roll it onto the damp seaweed.
- Give the roll one good squeeze to make sure it is sealed. Now remove the hosomaki and set it aside for a few moments, to allow the damp seaweed to dry, before cutting it.
- Hosomaki is traditionally cut into 6 pieces. To do so, make sure your knife is clean, damp, and sharp (to avoid tearing) and make a gentle cut down the middle. Move one half next to the other and cut both halves into thirds.
- I usually like to arrange hosomaki by putting the end pieces upright and garnishing. Enjoy!
Futomaki (fat roll)
Futomaki is great for people learning how to roll sushi. It is the most popular form of rolling sushi in Japan. It allows the maximum amount of ingredients on the inside of the roll and it brings out the taste of the nori.
There are several people in the U.S. that prefer NOT to taste the nori. Futomaki can be made with rice on the outside as well.
There are two ways to make a Futomaki: Standard and Short.
- To make the standard version of a Futomaki, use a FULL sheet of nori.
- Using almost two handfuls of rice, spread the rice across the rough side of the seaweed, leaving about 1in of bare nori on the top.
- Now you can place a good amount of ingredients, on top of the rice, in the center. Don’t be confused by some local sushi bars- a lot of times, you will see Futomaki Roll on the menu. That is the name of a certain roll, with certain ingredients. Whereas this tutorial is simply teaching you the technique of rolling Futomaki (I will cover the standard ingredients for a Futomaki Roll in the recipe section).
- Now we tuck our thumbs, place our fingers over the ingredients, roll the nori over, and squeeze. At this point, you should have the roll 3/4 of the way to the top.
- Dips your hand into the water and wet the top of the nori.
- Quickly continue rolling until the nori meets the nori and seals itself. Be sure to move quickly, if the seaweed dries out on the top it will look sloppy and possibly won’t seal right.
- Again, give the roll a few moments to dry, and then proceed to cut. Traditionally, the Futomaki is cut into 10 pieces.
- To do that, cut the roll in half and place both halves side by side. Then make 4 more cuts from one end to the other.


